What is Offline RandomAPI?
Offline RandomAPI (OfflineAPI) is an NPM module that you can install on your own machine to generate your APIs locally. Your own instance or instances of the RandomAPI Generator run locally on your computer (on port 61337 by default) and can be accessed in the same way as you access RandomAPI currently.
Why?
If latency, uptime, and speed are big concerns, OfflineAPI is perfect for you! You also won't need to compete with other users in your tier for resources on the RandomAPI servers during times of heavy load, and if you are traveling or somewhere without internet and need your random data, that won't be an issue either!
So what's the catch?
OfflineAPI is currently only available for premium accounts. In the future, this feature may expand to standard accounts, but for now, it's exclusive to premium users.
Alright you've got me sold, how do I use it?
Since RandomAPI runs on Node.js, the Generator naturally runs on Node.js as well. Make sure that you have Node and NPM installed on your machine.
Next, install the OfflineAPI module globally by running
npm install randomapi -g
Since OfflineAPI is a CLI script, we highly recommend installing it globally so you can access it from your terminal with randomapi.
After OfflineAPI finishes installing, it'll automatically launch the RandomAPI Generator in the background as a daemon on port 61337. You can run randomapi now if you would like to see the available commands.
At the time of writing this, there are currently some issues with getting the generator to run in the background on Windows. It currently opens up a new console window that you'll have to keep running in order for the generator to run. For now, you'll have to just minimize the window until we have an update for Windows. OS X and Linux users should be unaffected.
Next, we have to create an authToken on RandomAPI in order to authenticate your account with the server to sync your APIs, Lists, and Snippets.
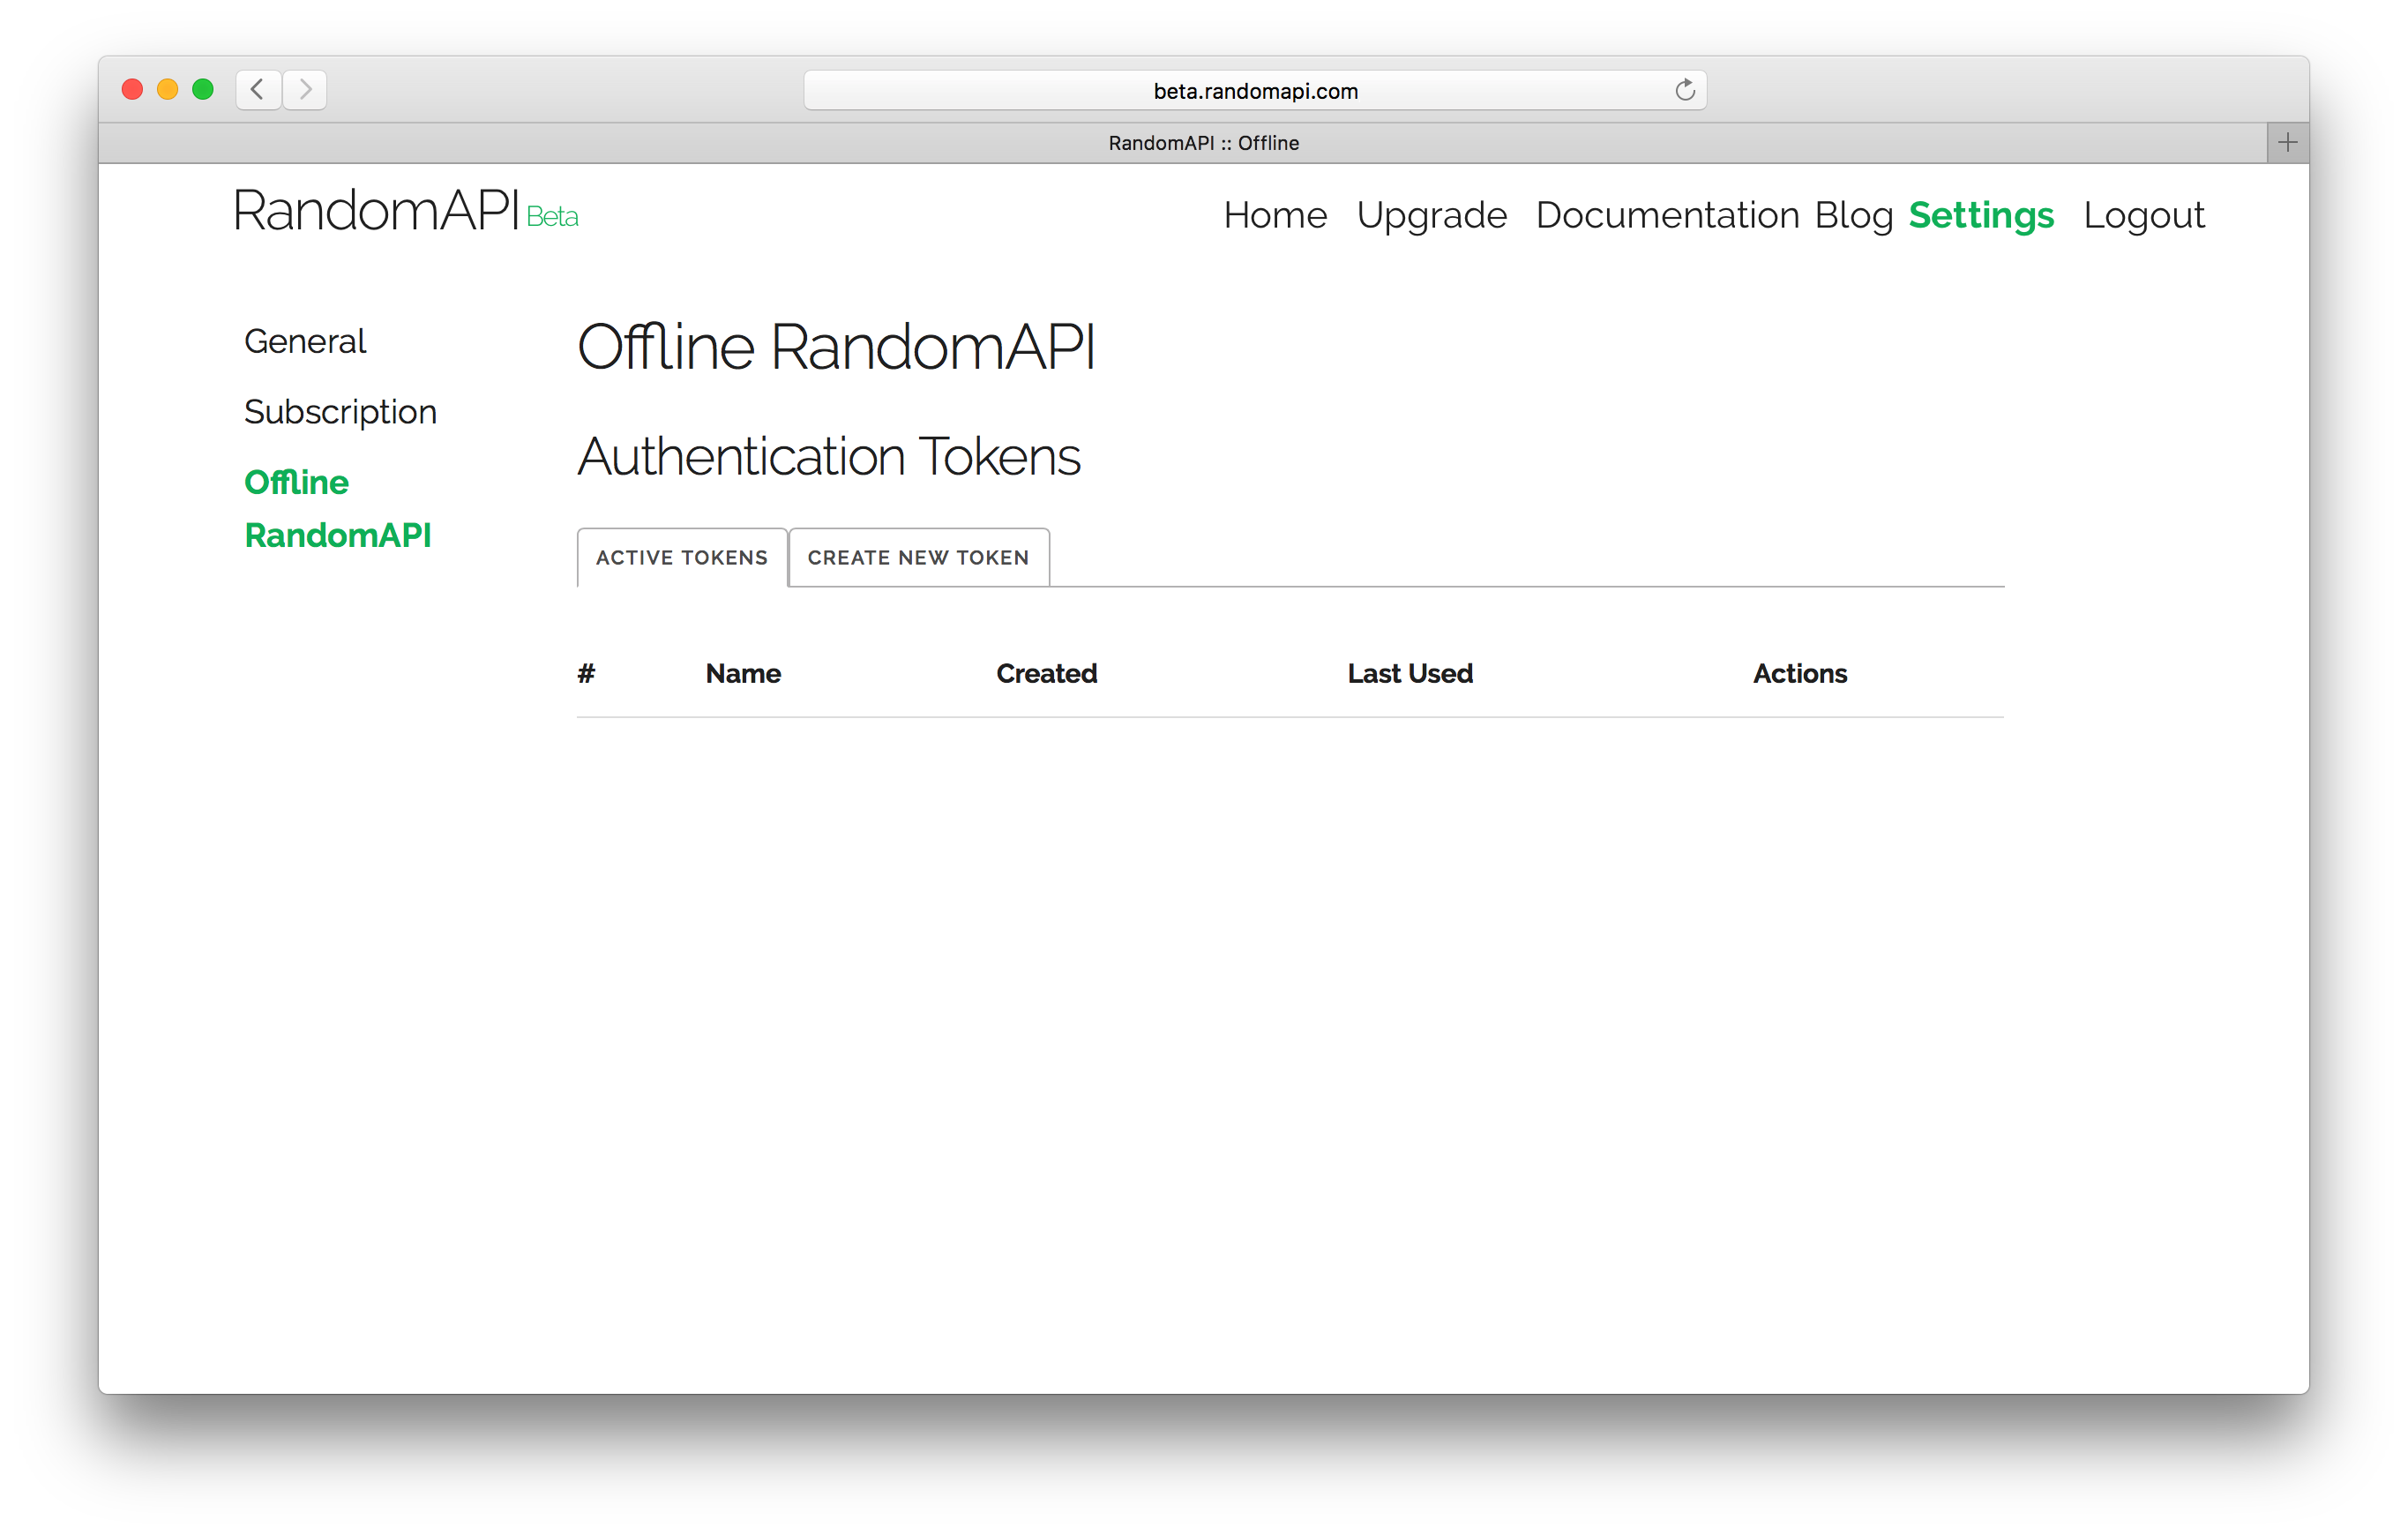
Login to your RandomAPI account, go to settings, and then click on Offline RandomAPI. Or, you can click here if you want to be lazy :)
Your screen should look like this
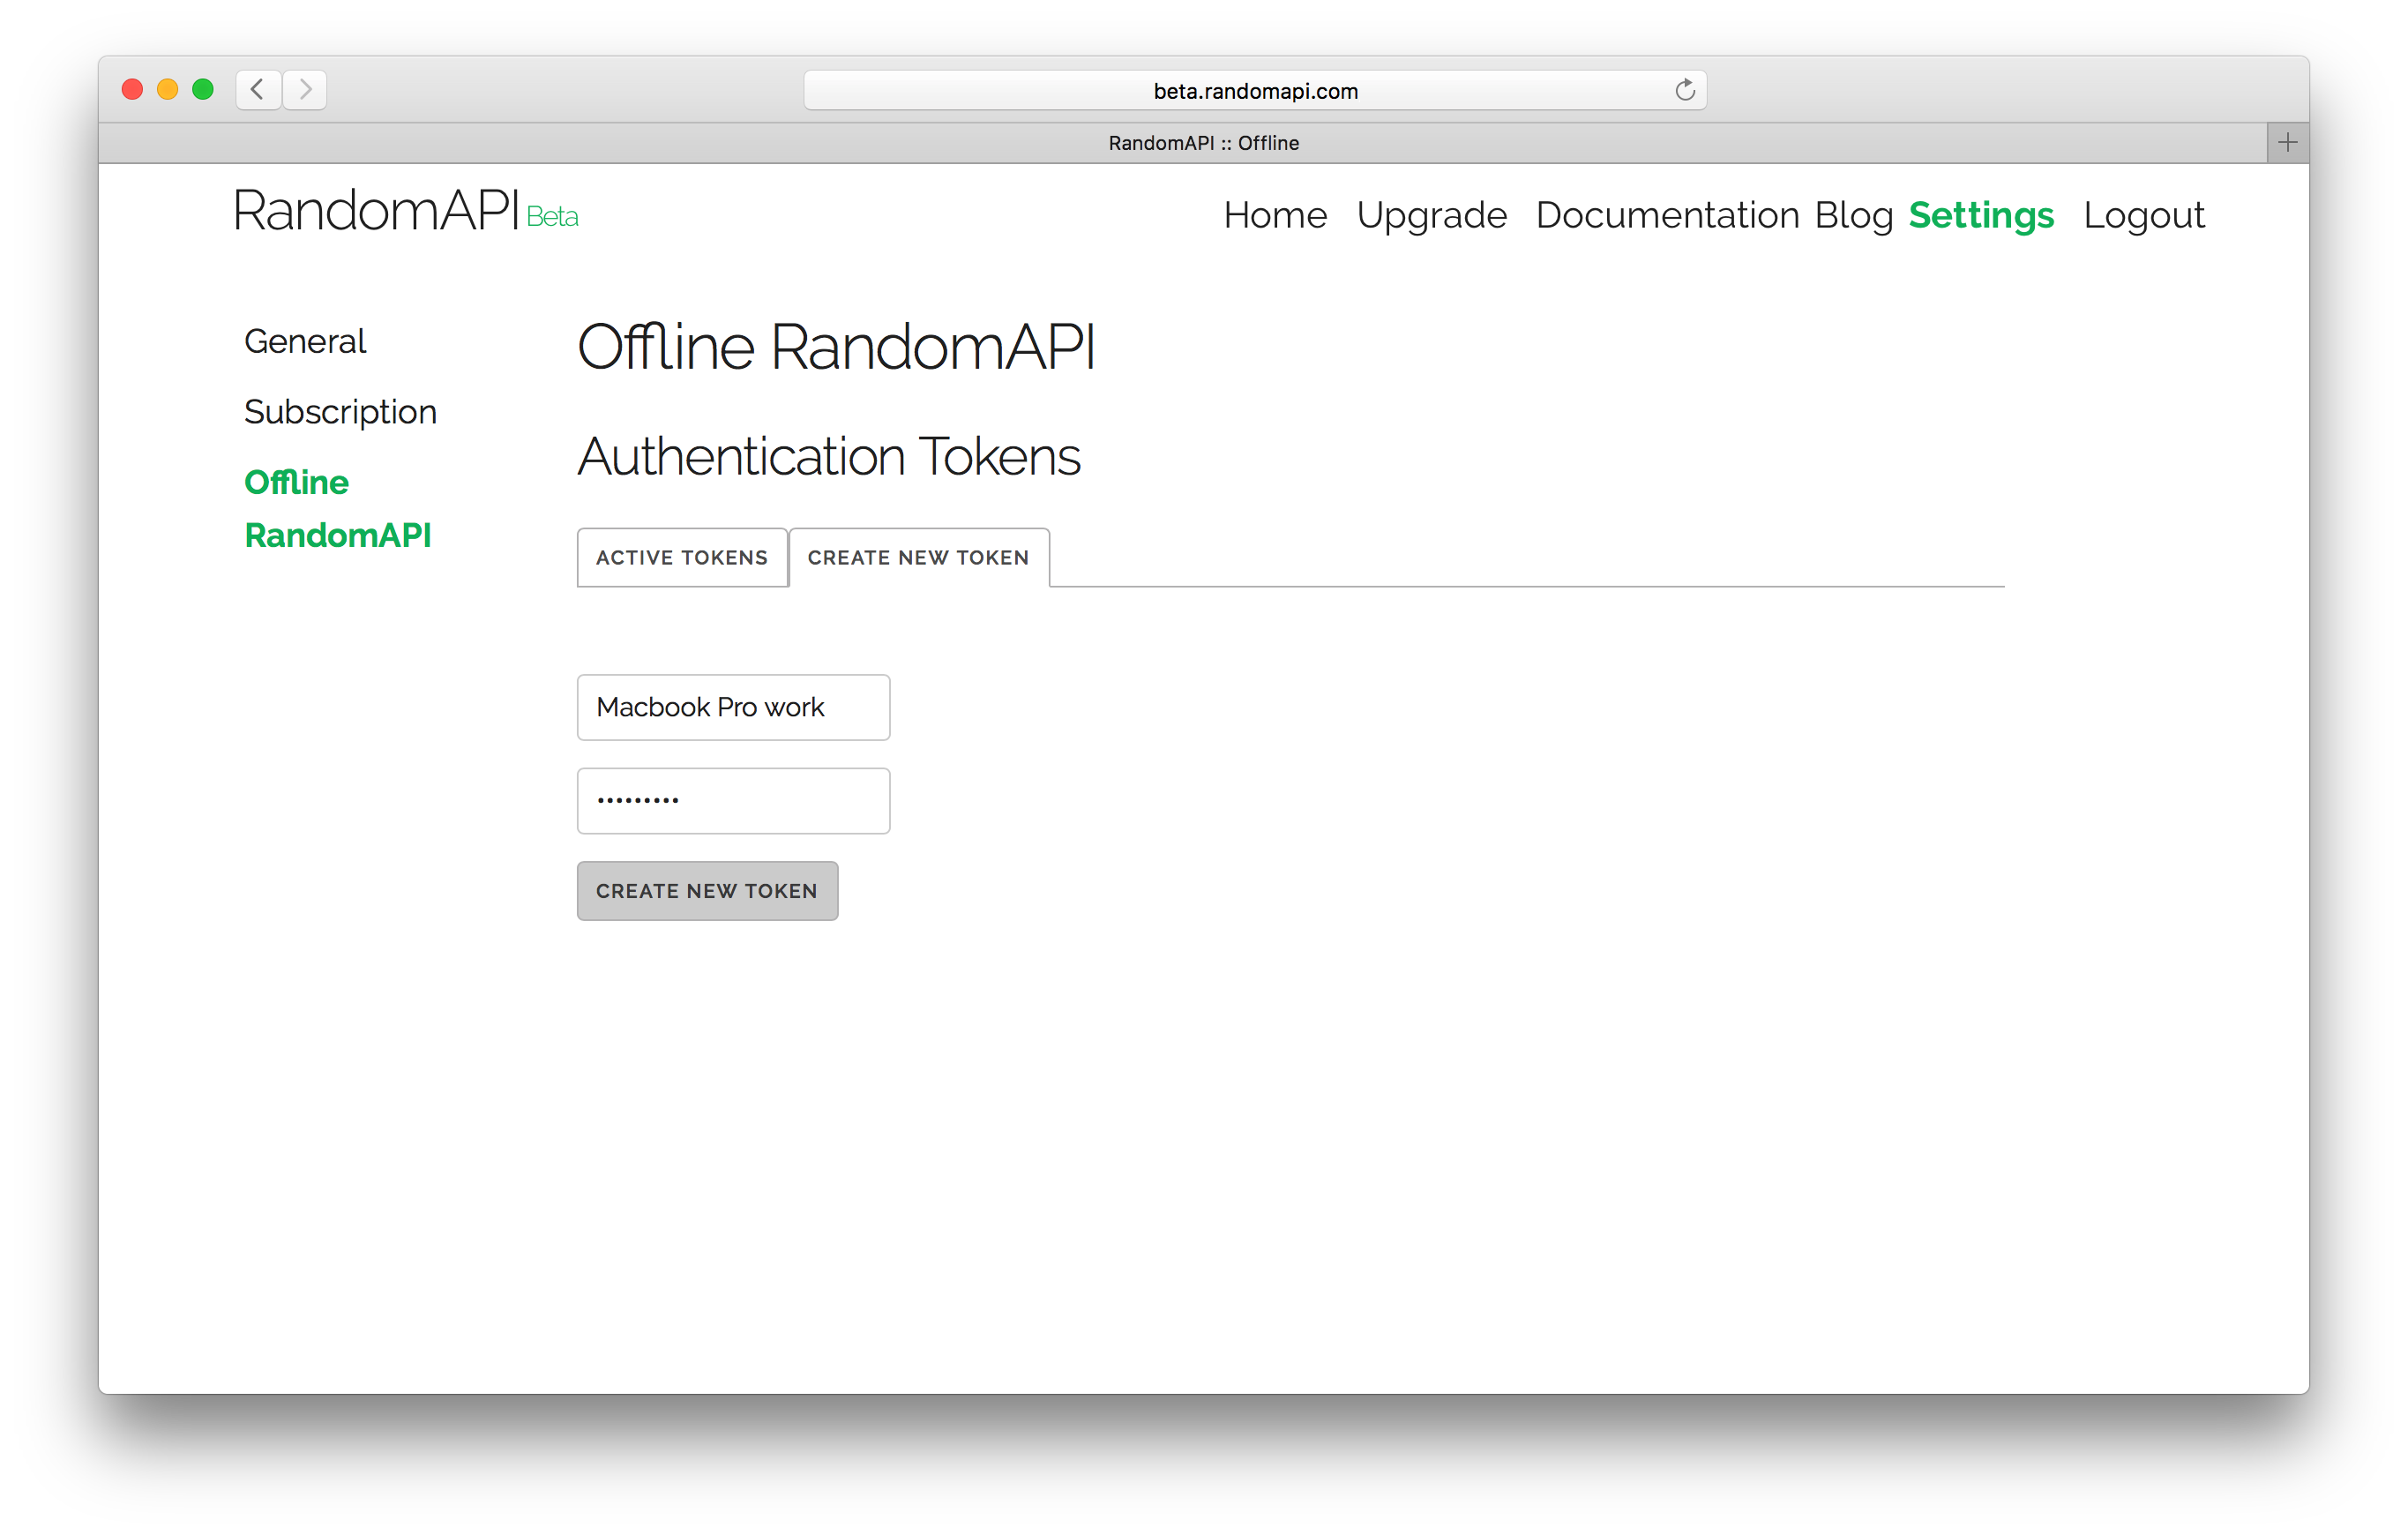
Click on create new token and give your token a name and give your account password to authenticate yourself.
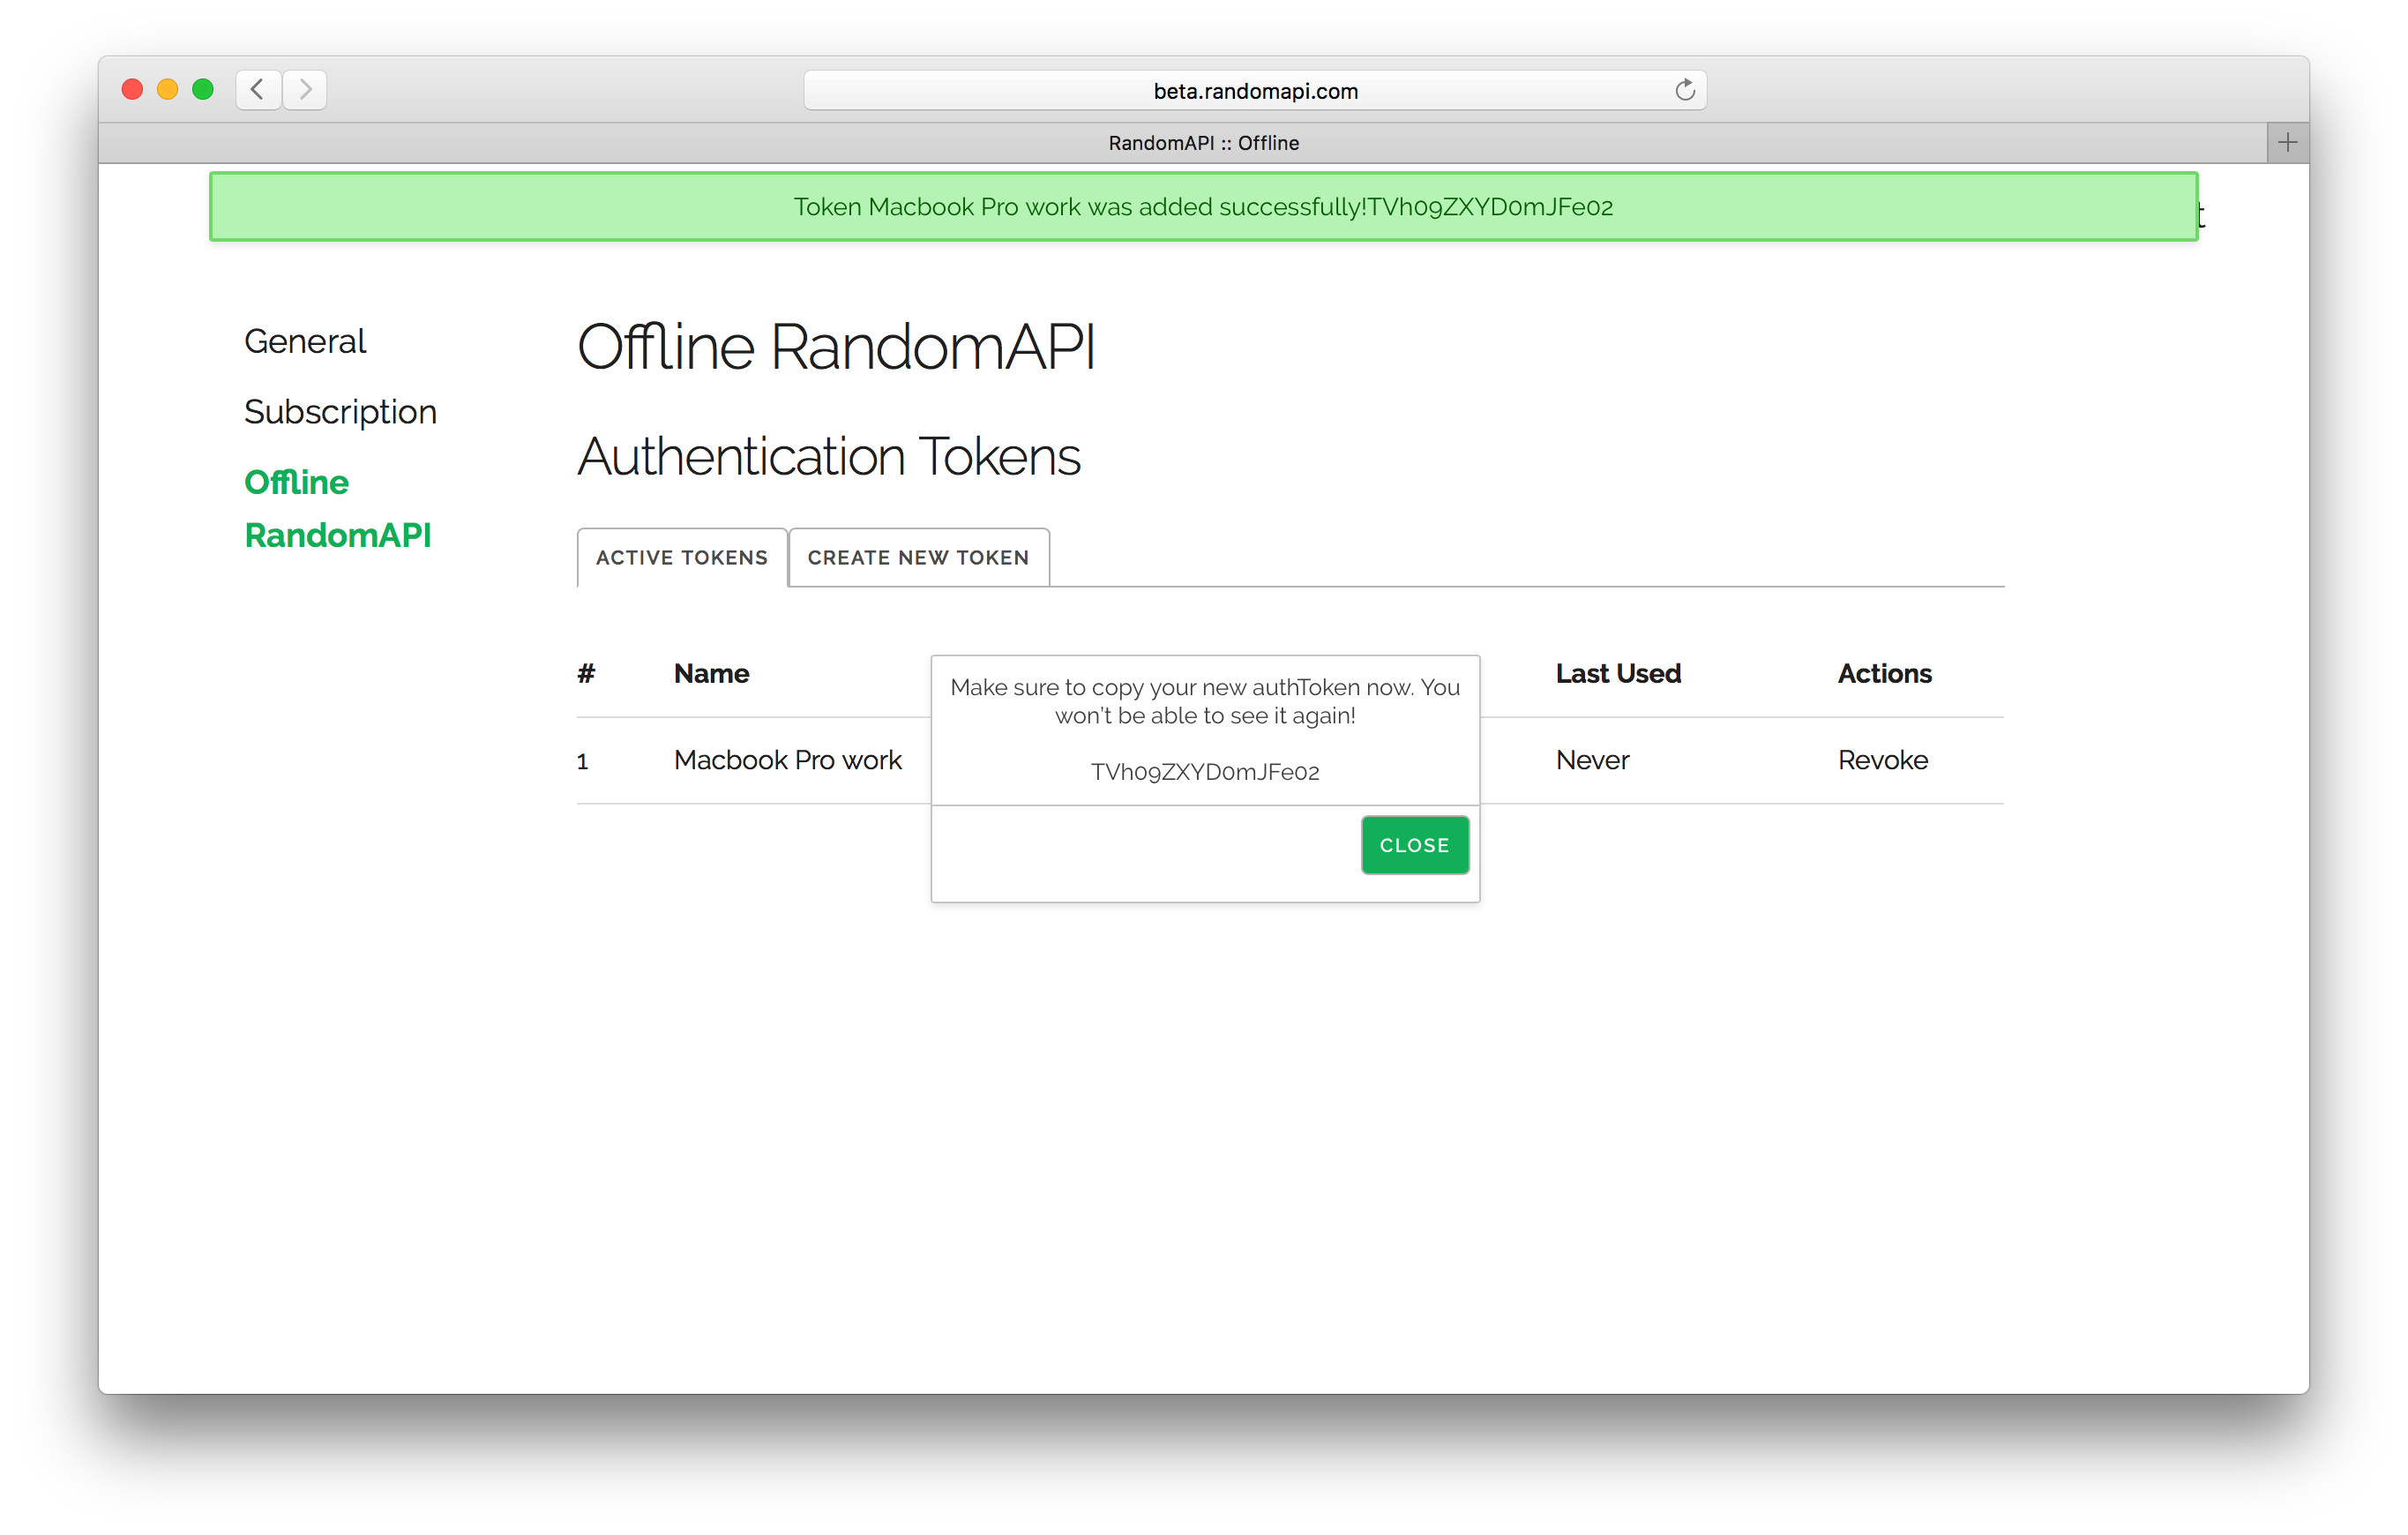
You will receive an authToken after you submit the form. Make sure that you copy this token now, you won't be able to see it again after you leave the page.
Next, go back to OfflineAPI and type randomapi login.
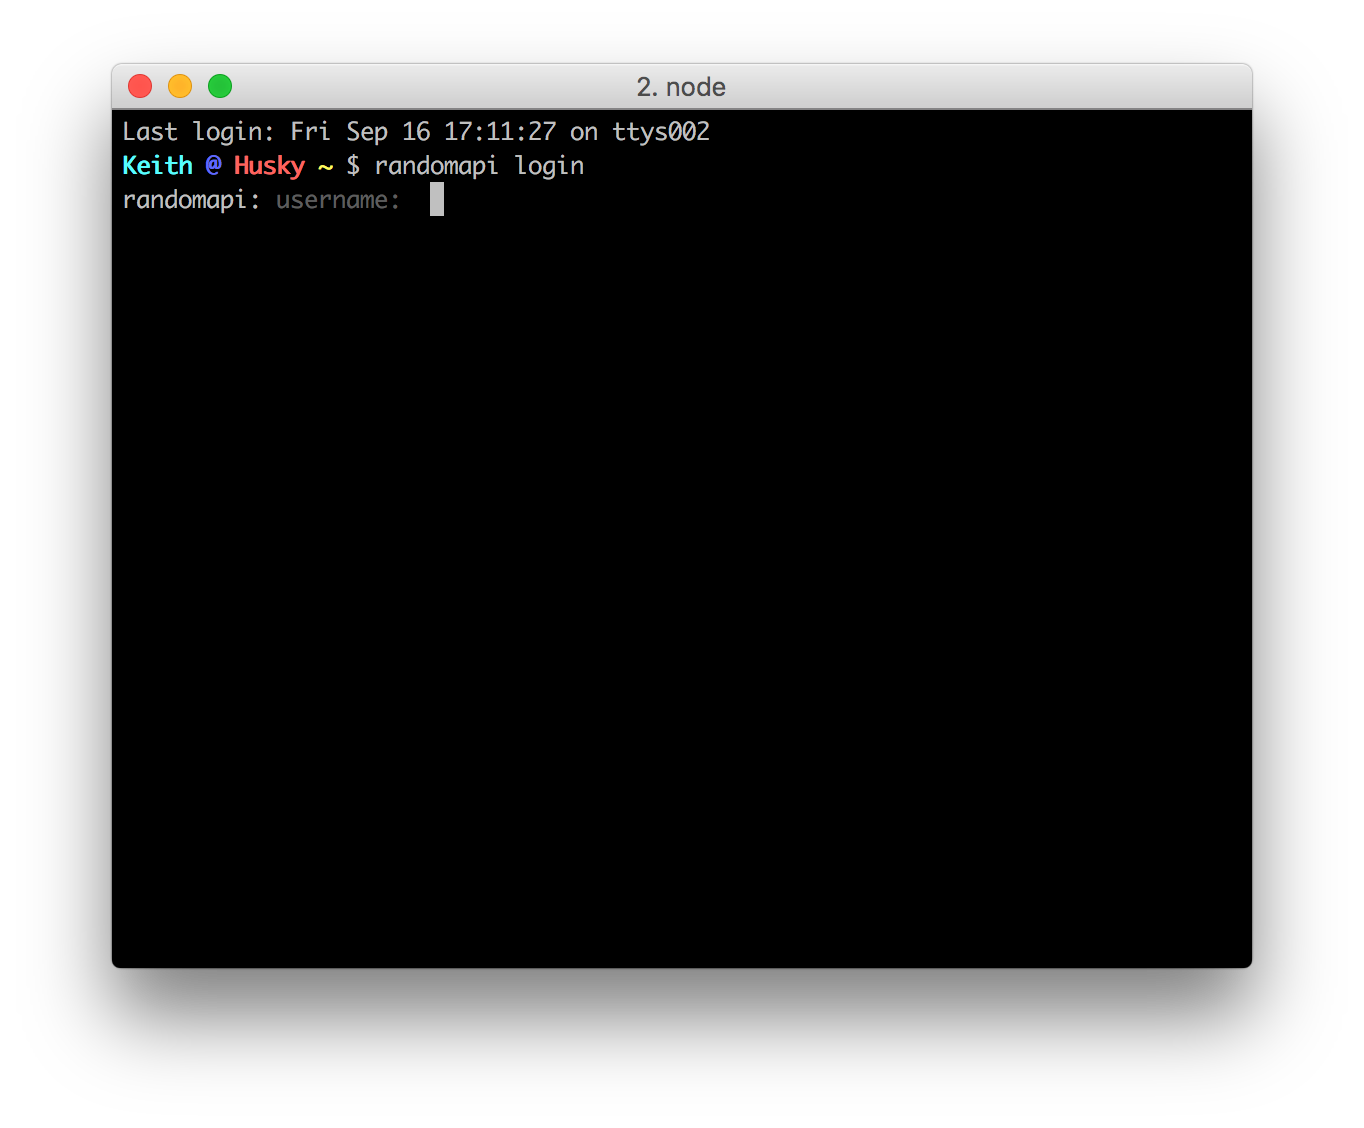
Give your username and the authToken we just generated to link your offline account with RandomAPI.
authTokens are linked to your account and can not be used with other accounts. They are also one time use.
If all goes well, you should get this screen:
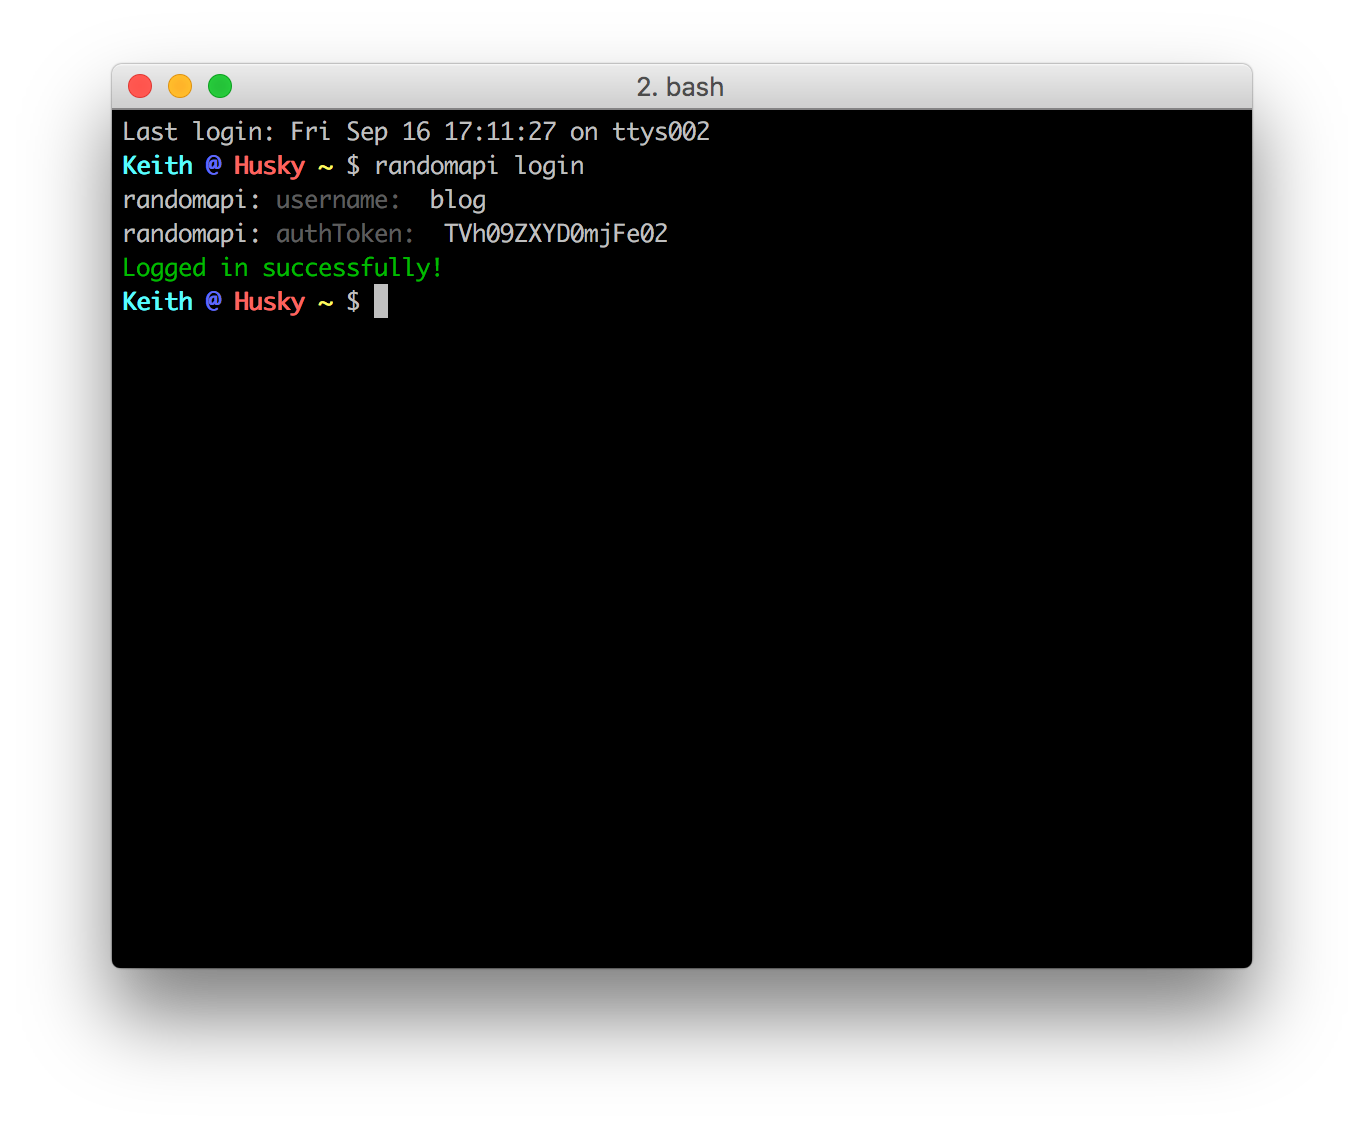
If you are on Windows and the prompt doesn't reappear after you login, press CTRL-C to exit
Congratulations, your account and computer are now linked with your RandomAPI account!
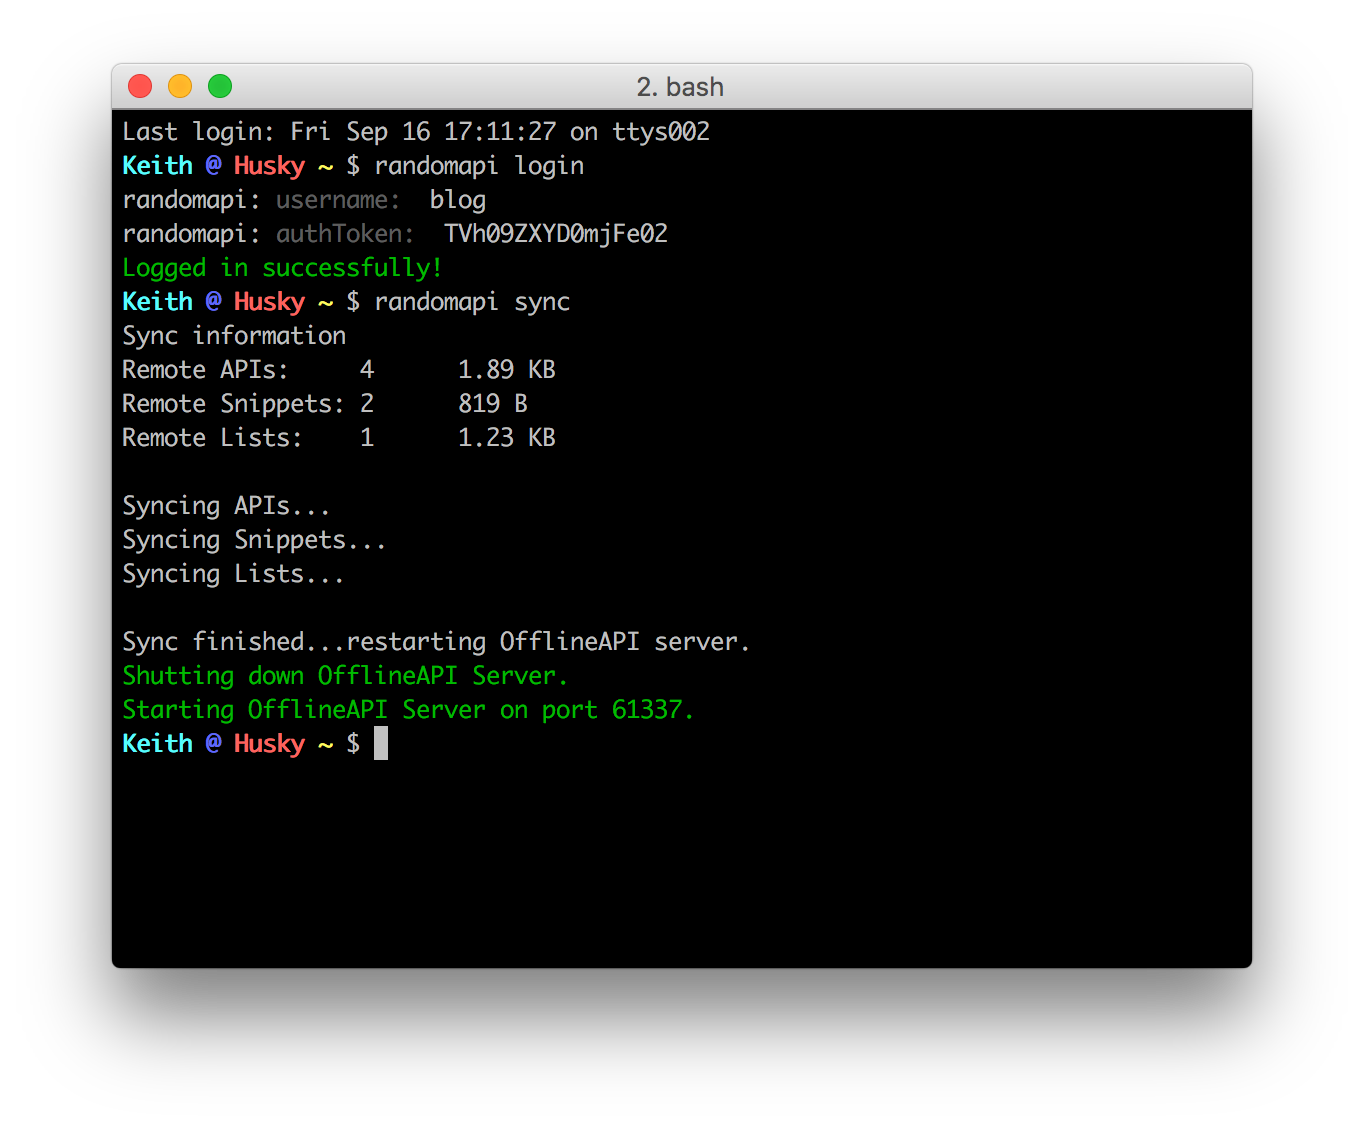
Next, we need to sync with the RandomAPI server. Type randomapi sync to run the sync operation. After the operation completes, the RandomAPI server will automatically restart to load in the latest changes.
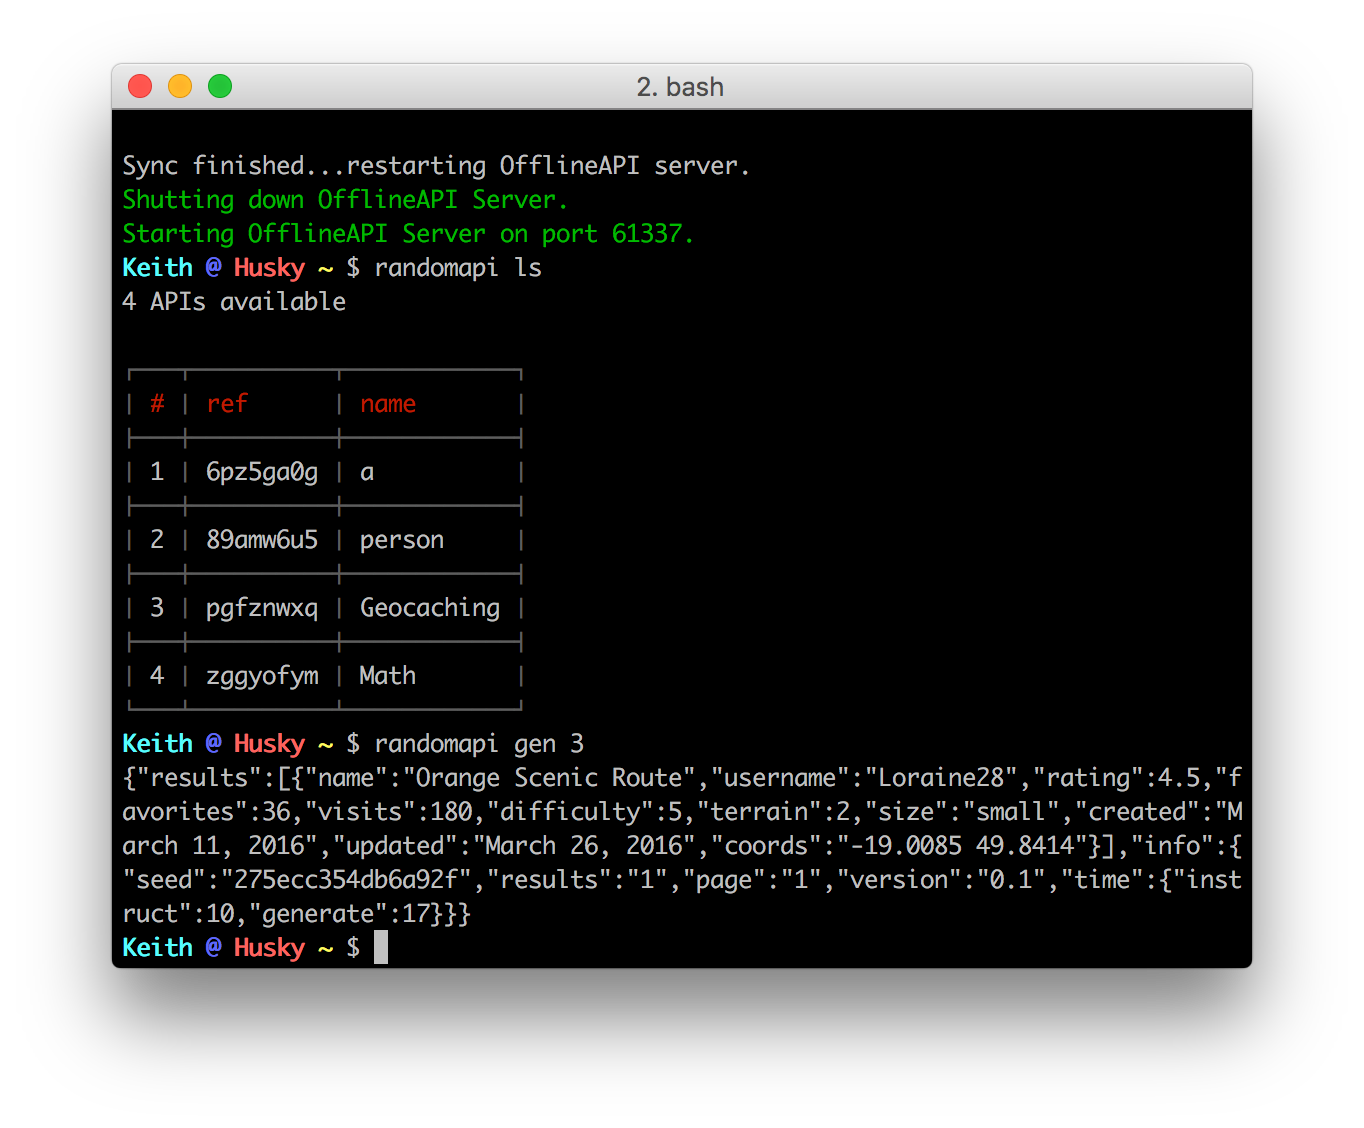
Type randomapi ls to view the APIs that are currently available locally.
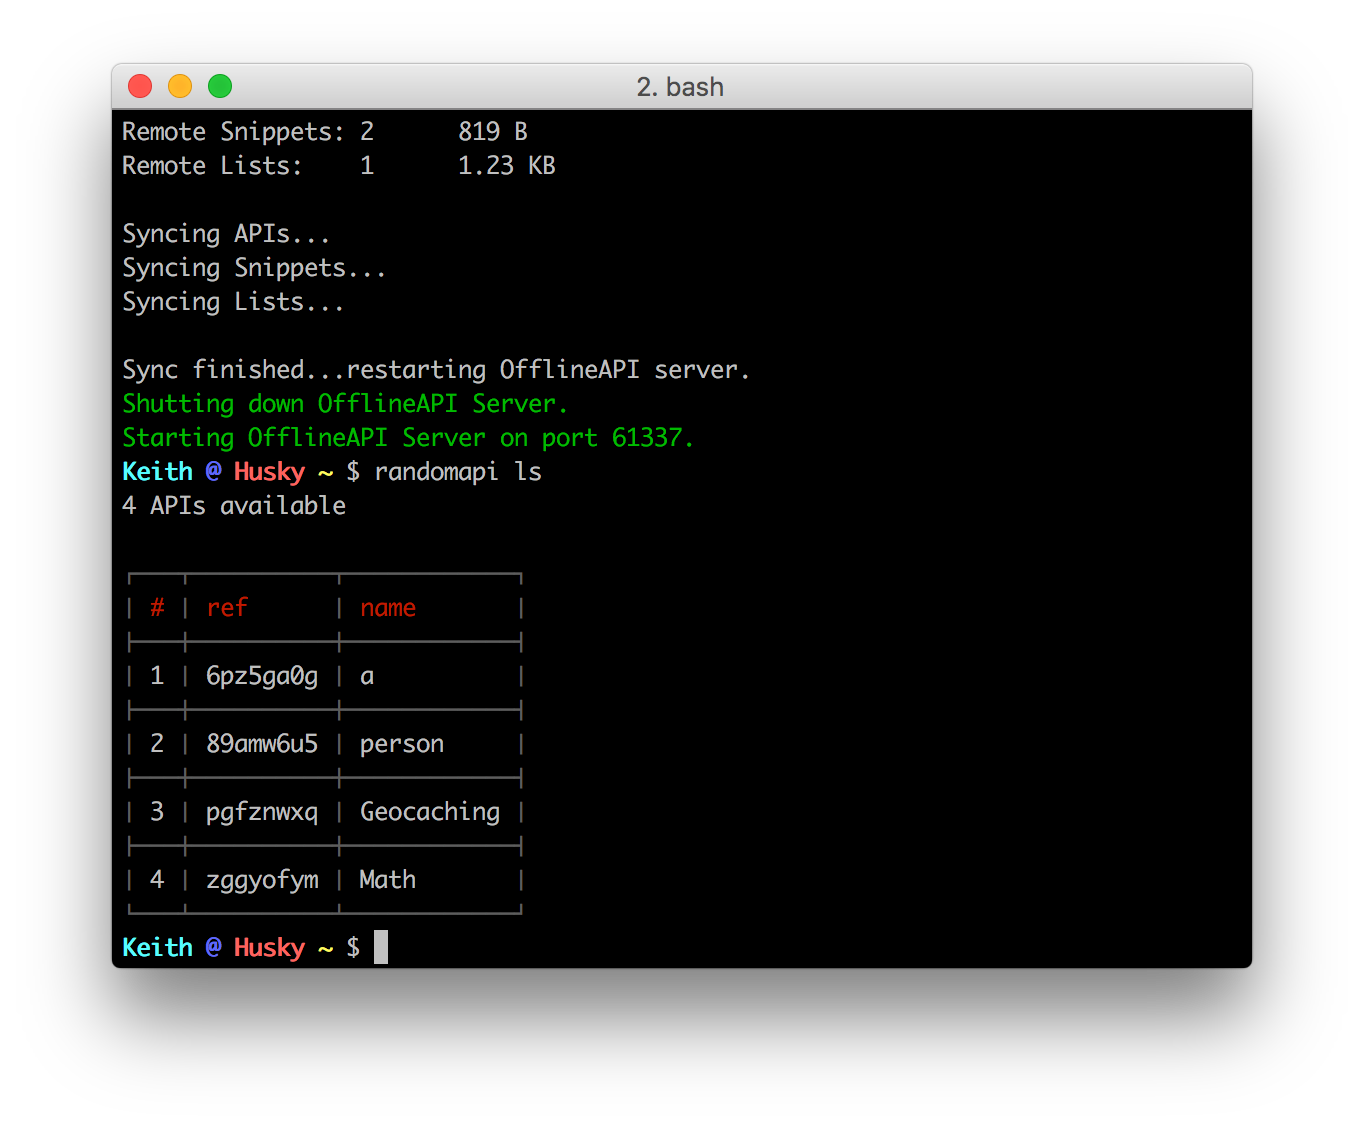
Let's generate the Geocaching API demo that we made in this blog post.
randomapi gen 3
Notice how I ran
3instead of typing outpgfznwxq. The CLI references the ordering of the APIs when you run thelscommand for convenience.
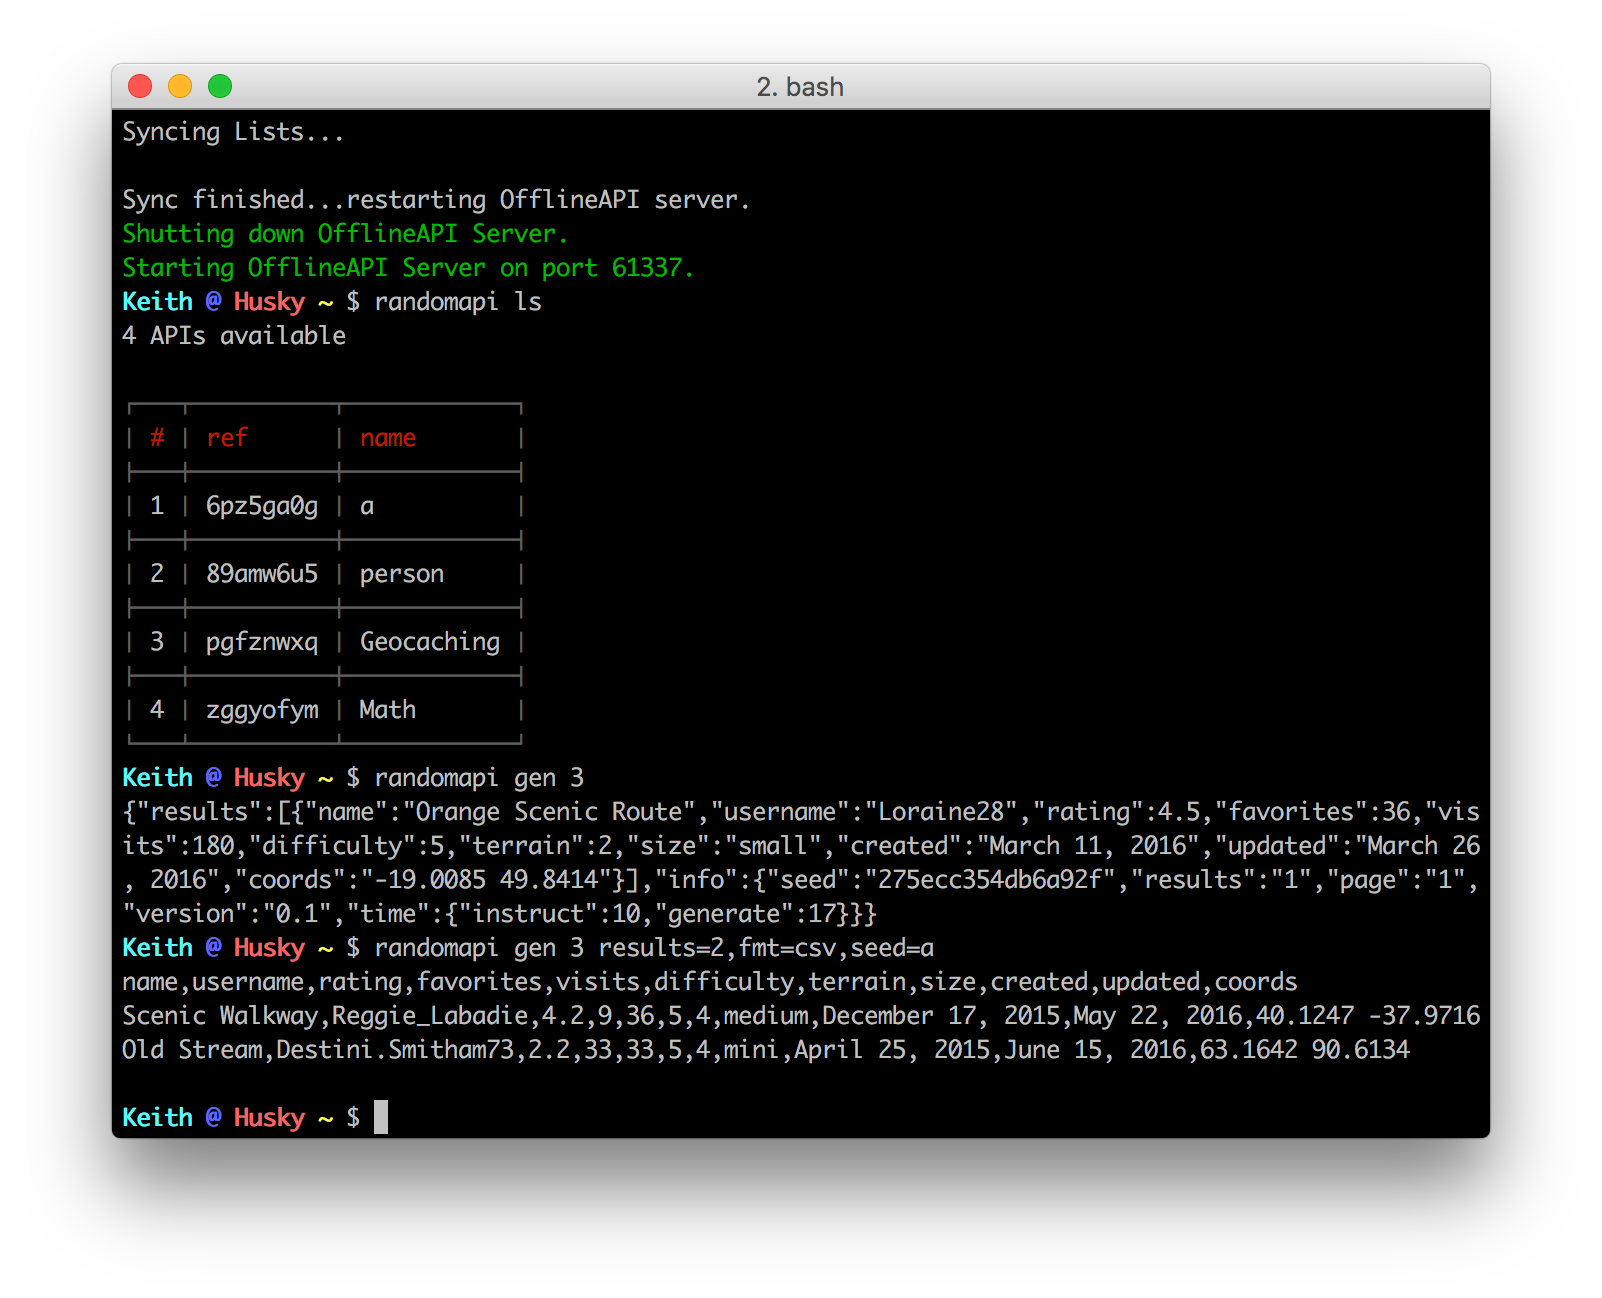
Now how do you pass parameters like on the web version of RandomAPI? Just pass the parameters as a comma delimited list as the next argument.
randomapi gen 3 results=2,fmt=csv,seed=a
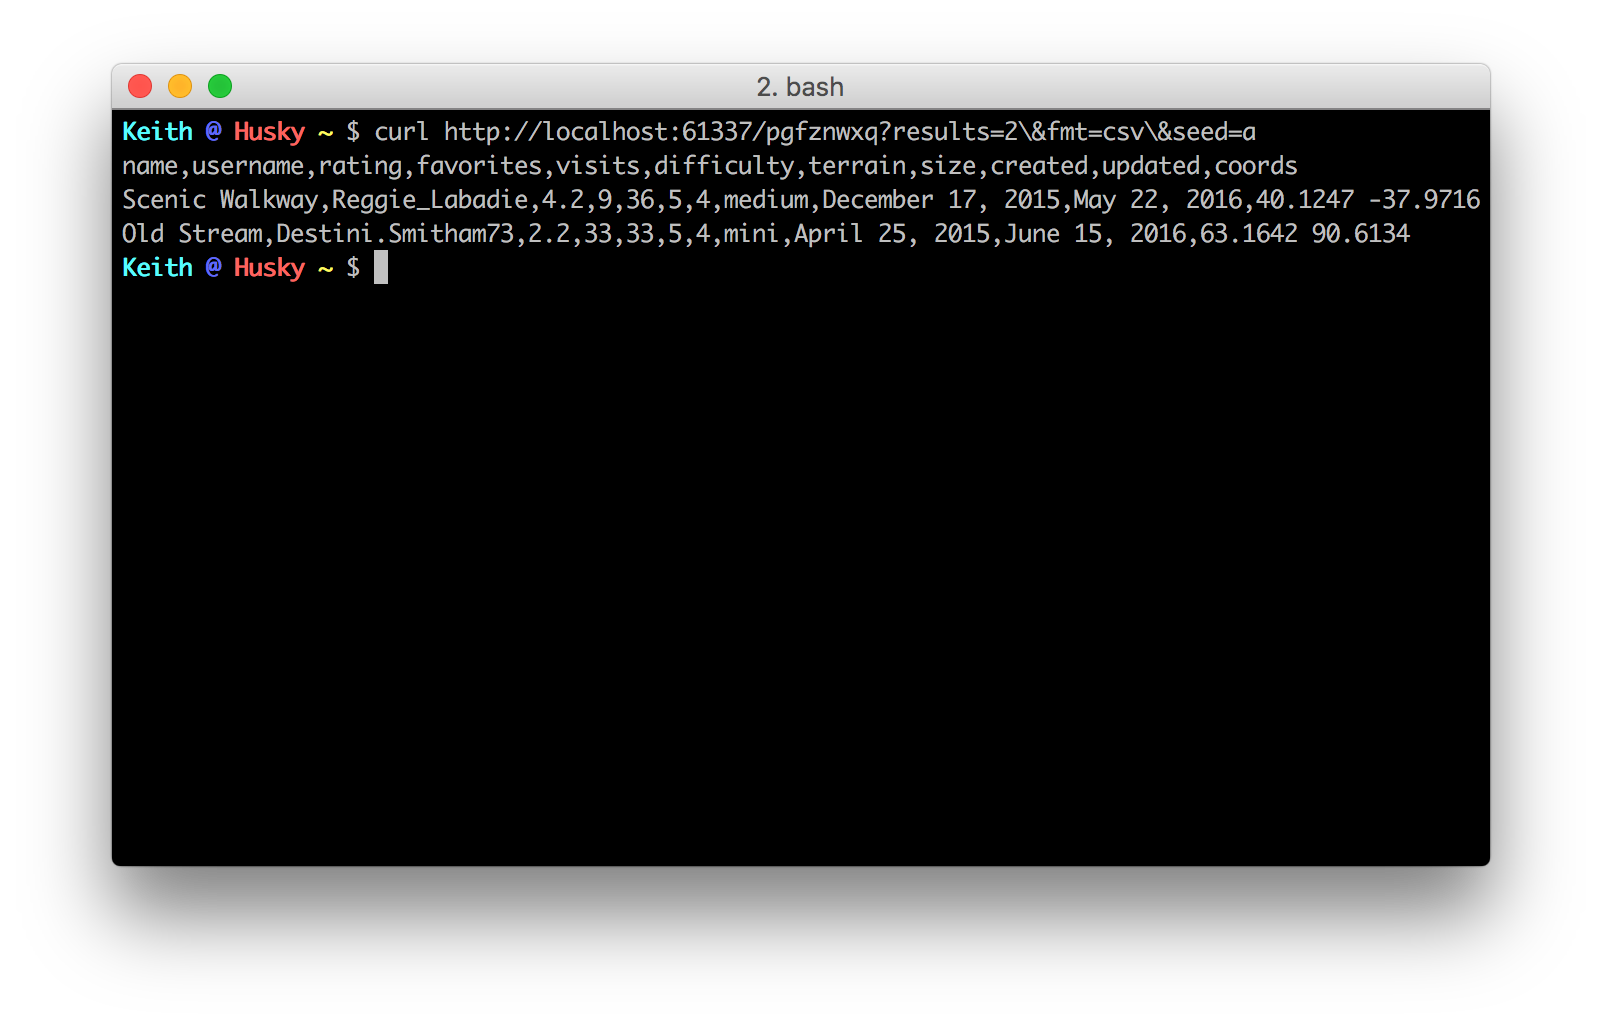
If you want to use the generator in the browser, you are free to do that as well!
Make sure that you use & in your parameters and the actual ref id in the browser
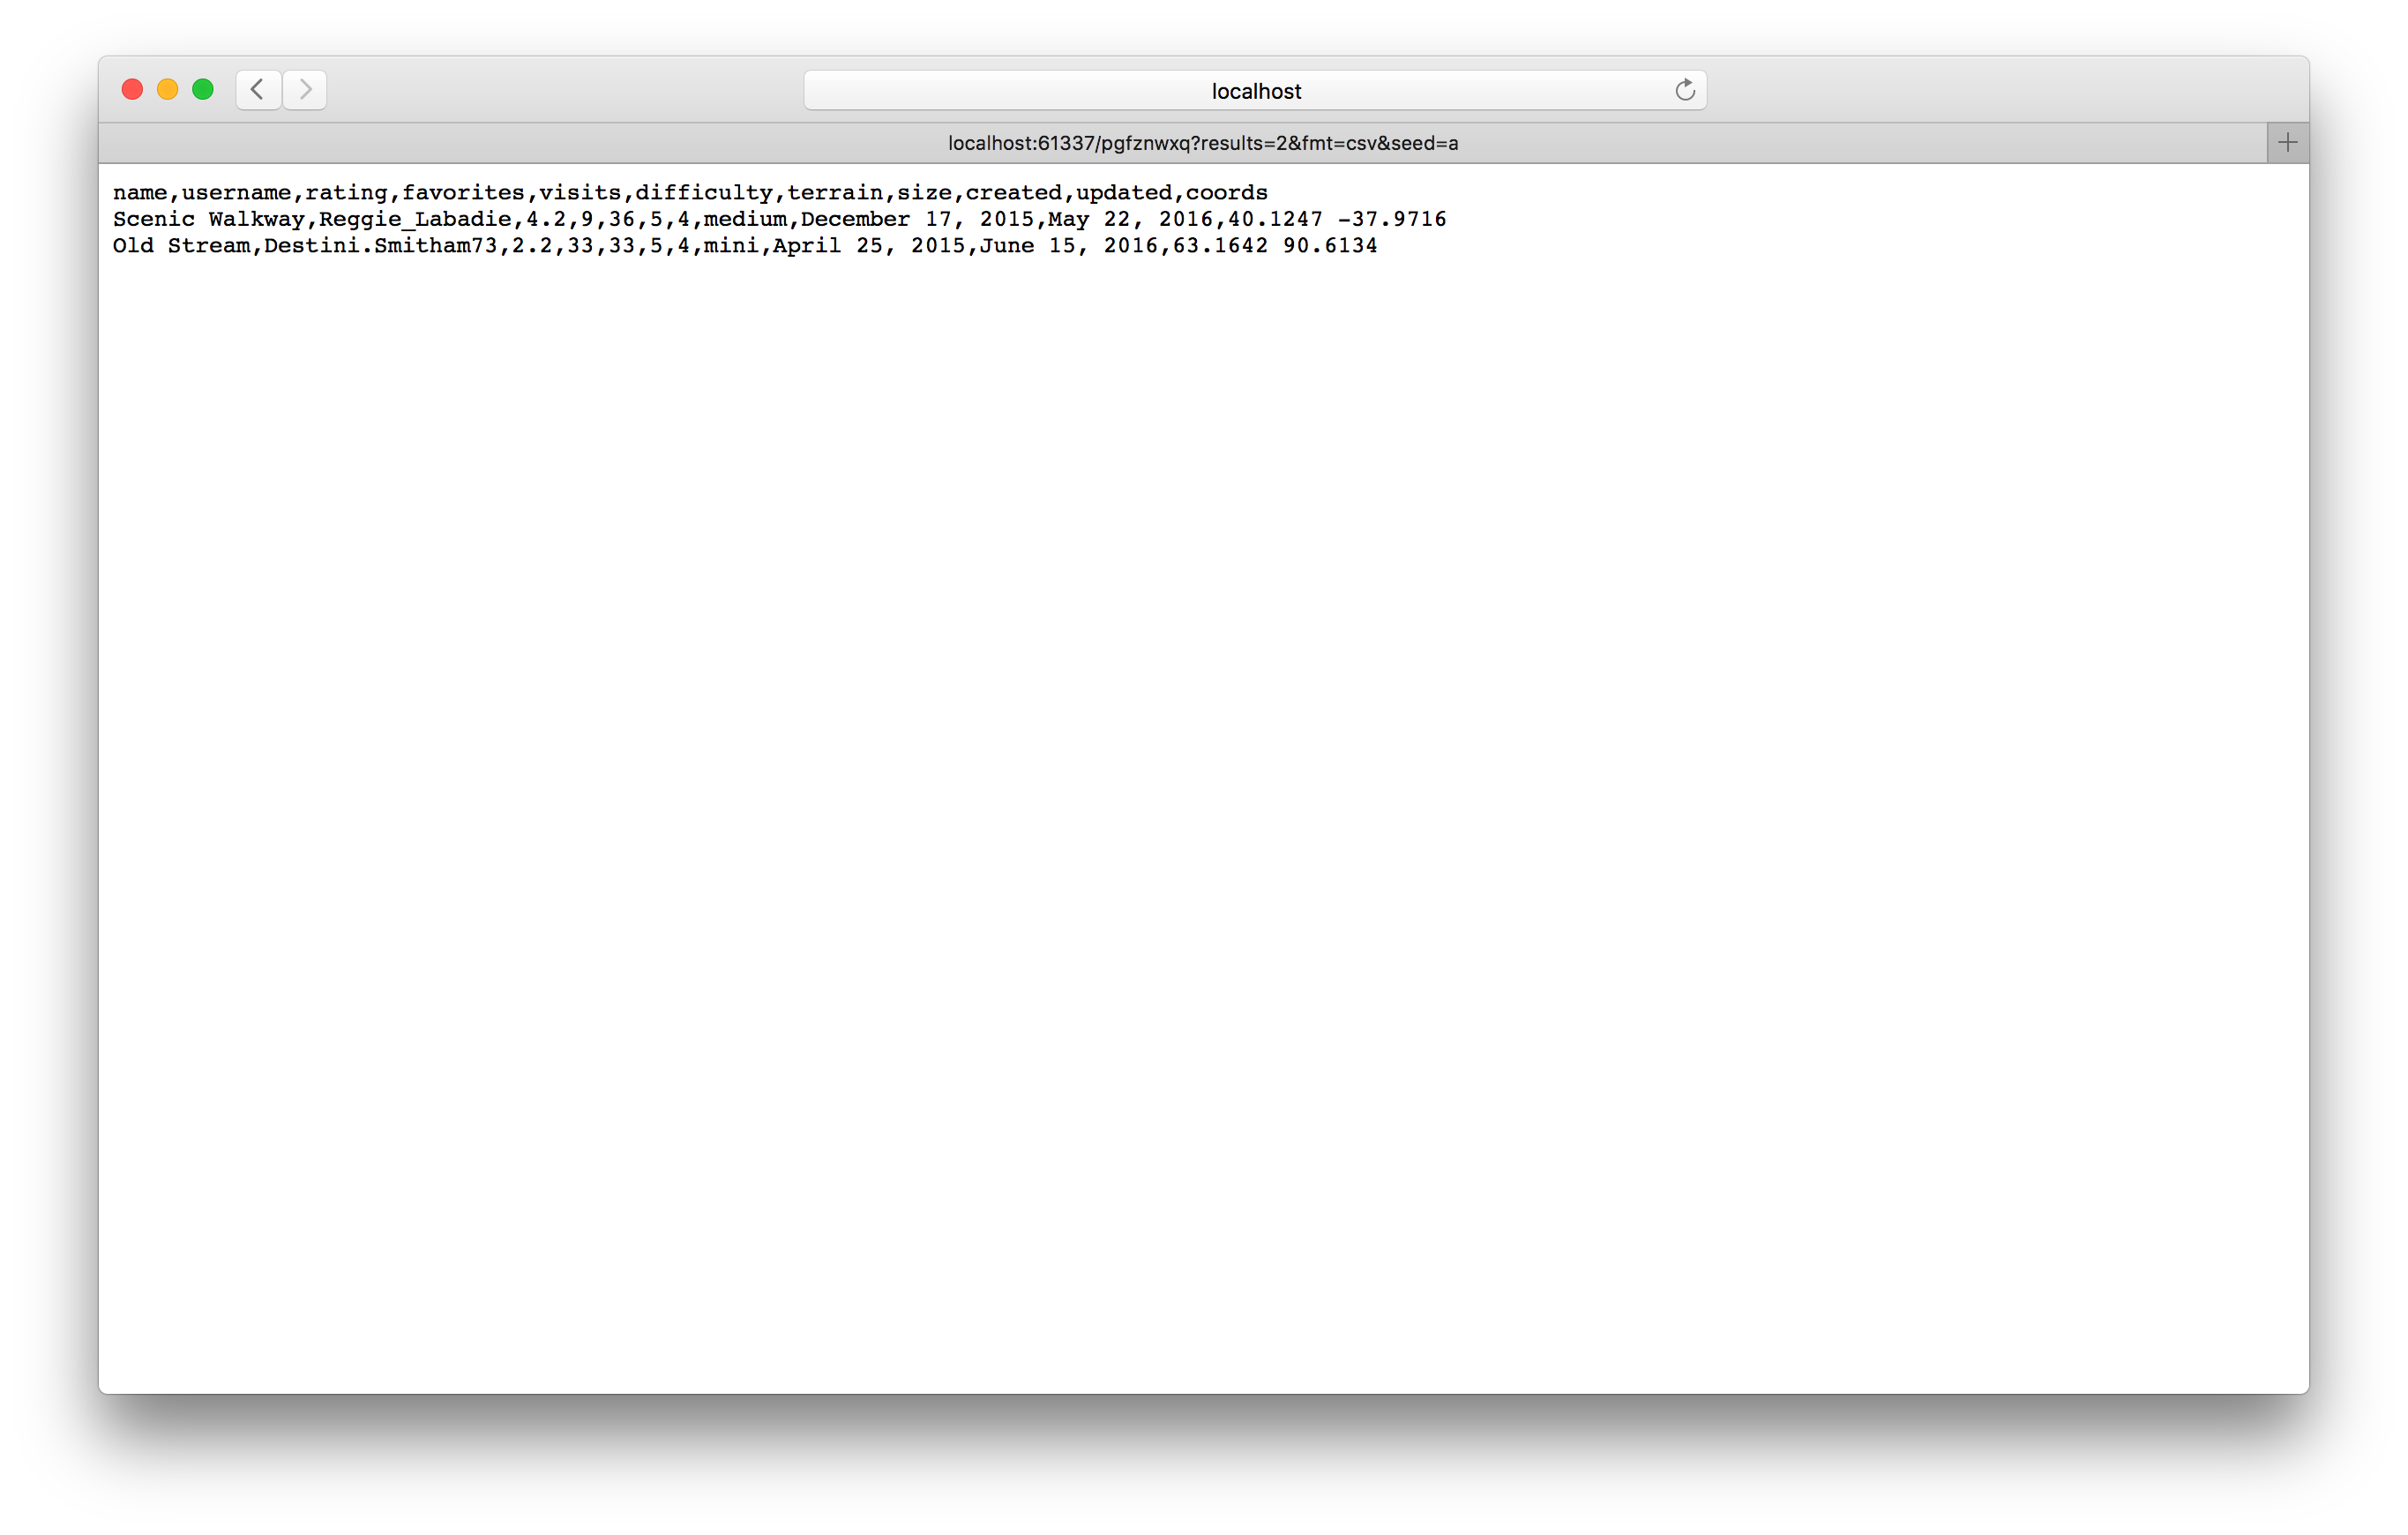
You can also access the same URL in any http library like curl or httplib in Python!